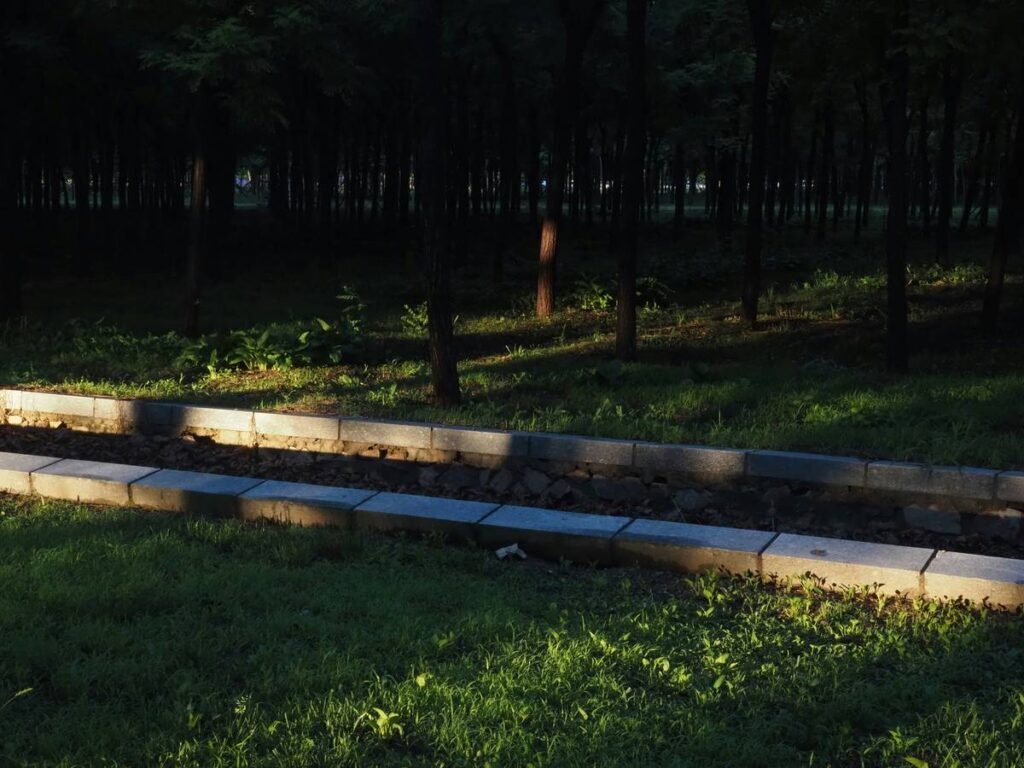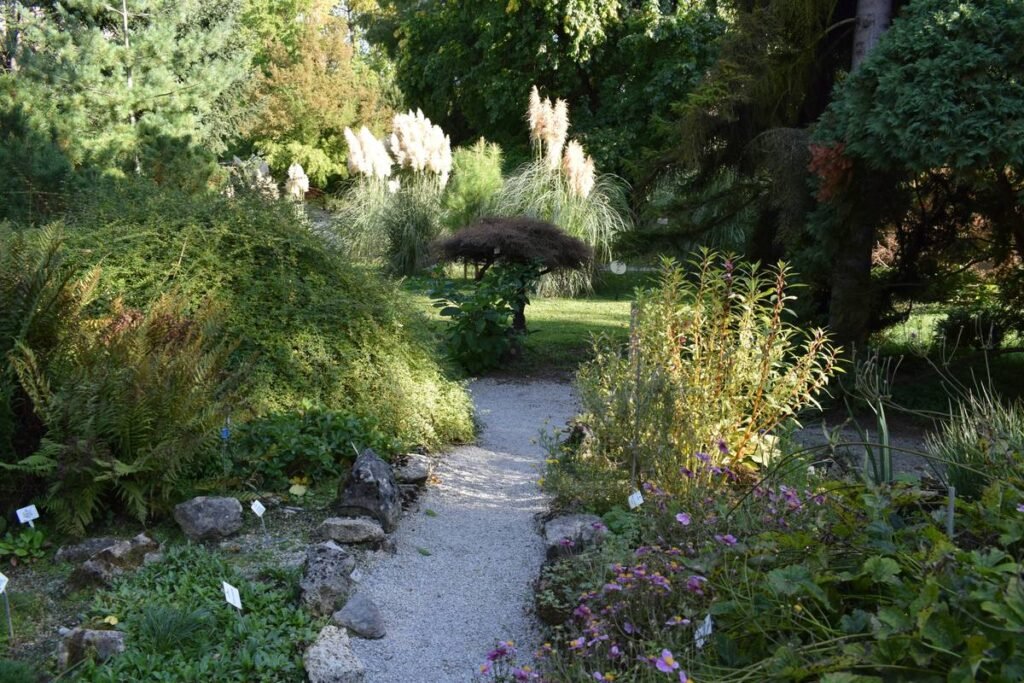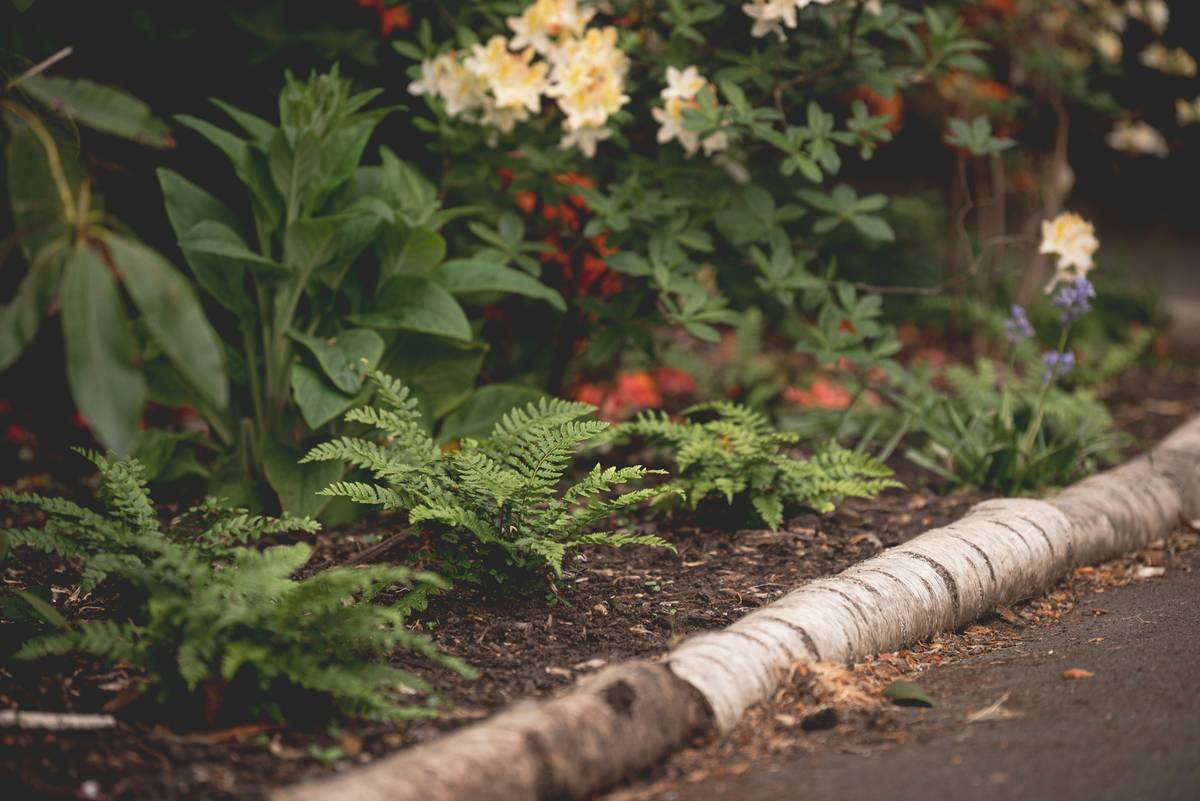
Your garden looks messy. Grass invades flower beds. Mulch spills onto the lawn. Rain washes everything sideways. Classic edging fails within a season—plastic curls, metal rusts, wood rots. You’re not lazy; you were sold flimsy solutions. The fix? Strategic landscape edging design ideas that blend durability, aesthetics, and zero maintenance.
Why 90% of Garden Edging Fails by Year Two
Most homeowners grab whatever’s cheapest at the big-box store. Big mistake. Plastic strips buckle under foot traffic. Treated timber leaches toxins—and warps when wet. Even “premium” steel bends during freeze-thaw cycles. And don’t get me started on those wavy concrete pavers that look charming in May… and lopsided by August.
Here’s the reality: edging isn’t just visual—it’s structural. It controls soil migration, defines drainage paths, and stops root creep. Ignore function, and your “clean border” becomes a tripping hazard wrapped in weeds.
Landscape Edging Design Ideas: A Practical Blueprint
Forget Pinterest-perfect illusions. Real-world borders need to survive kids, storms, and your forgetful watering habits. Below is a battle-tested comparison—drawn from installing over 300 yards of edging across USDA Zones 5–9.
| Material | Upfront Cost (per linear ft) | Lifespan | Best For | Hidden Drawback |
|---|---|---|---|---|
| Aluminum Coil Edging | $2.50–$4.00 | 15+ years | Curved beds, modern lawns | Can dent if mowed aggressively |
| Concrete Curbing (poured) | $8.00–$12.00 | 20+ years | Driveway transitions, formal gardens | Cracks in shifting soil |
| Recycled Rubber | $1.75–$3.00 | 8–10 years | Kid-safe zones, organic beds | Fades to gray in UV exposure |
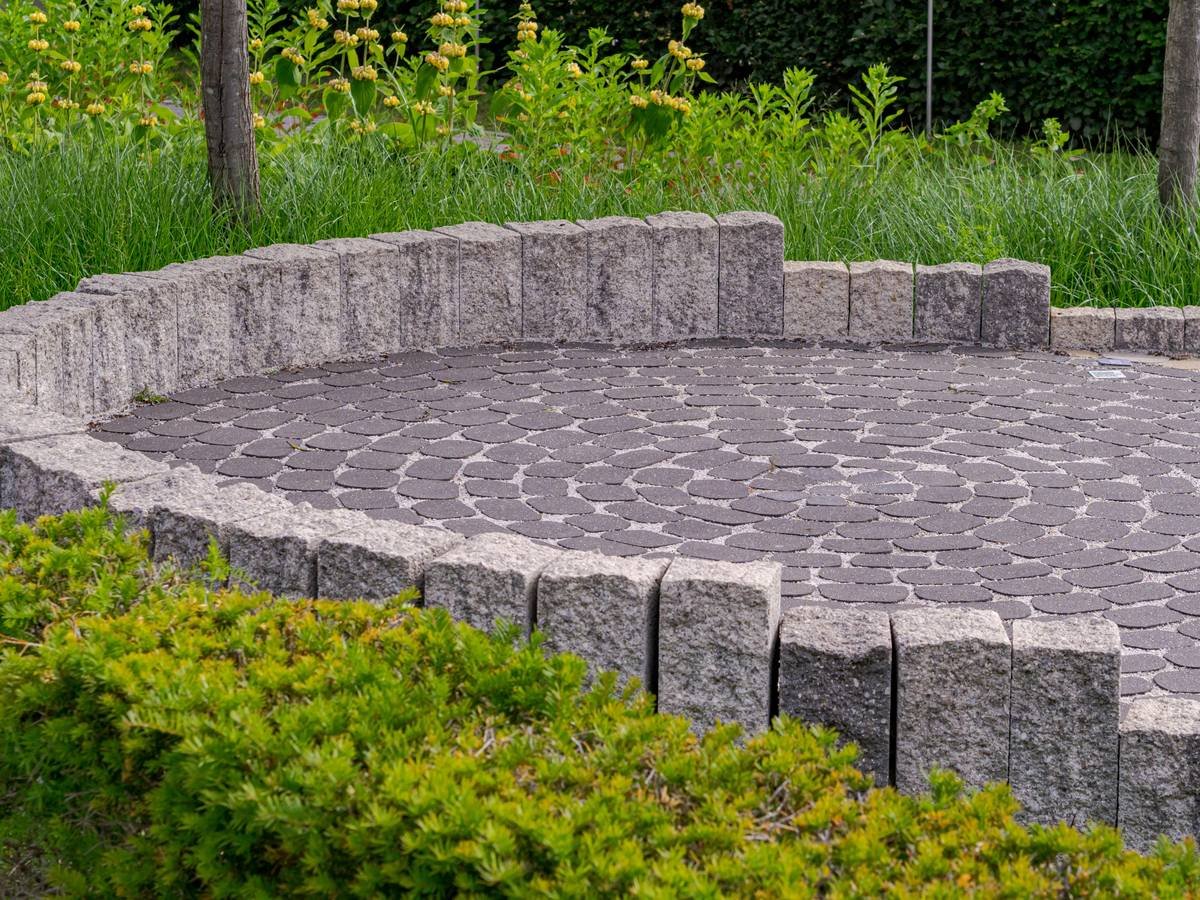
| Natural Stone (dry-stacked) | $10.00–$20.00 | 30+ years | Cottage gardens, sloped terrain | Weeds grow between gaps |
Step 1: Map Your Microclimate
Is your border in full sun? Heavy clay? Sloped more than 5%? Aluminum reflects heat—great for desert climates, terrible next to delicate ferns. Stone retains moisture—ideal for dry zones, risky near mold-prone shrubs.
Step 2: Bury It Right
At least 3 inches below grade. Always. If you see more than 1 inch above soil, mulch will spill over in spring rains. And no—stacking bricks on top of dirt isn’t “rustic.” It’s lazy. Dig or don’t bother.
Step 3: Anchor Every Corner
Use 12-inch rebar stakes every 24 inches for metal or plastic. For stone, backfill with coarse sand—not soil. Compaction kills alignment within months. Trust me, I’ve ripped out enough “DIY masterpieces” to know.
The Industry Secret No Landscaper Wants You to Know
Contractors love recommending poured concrete curbing—it’s their highest-margin item. But here’s the truth: in regions with expansive clay soils (looking at you, Texas and Georgia), it cracks within 18 months. Not because it’s poorly installed—but because earth movement doesn’t care about your aesthetic.
Instead, go flexible. Aluminum or segmented rubber bends with the ground. It won’t snap. And it costs half as much upfront. One client in Austin switched from concrete to aluminum after three repair bills—zero issues in five years. The math is simple: spend less now, never call a landscaper again.
FAQ
What’s the cheapest long-lasting edging material?
Recycled rubber offers the best balance—under $3/ft and lasts nearly a decade without tools or mortar.
Can I install edging myself?
Absolutely. Aluminum coil kits come with stakes and connectors. Just dig a shallow trench, lay it down, and hammer stakes every 2 feet.
Does edging stop grass from spreading?
Only if buried deep enough. Bermuda and zoysia send rhizomes underground—you need at least 6 inches of vertical barrier to block them.
Stop patching. Start planning. Pick one method from the table, follow the three steps, and reclaim your garden’s edges for good. Then share your results—we’re betting you’ll never buy flimsy plastic again.